Basic Yoga Introduction
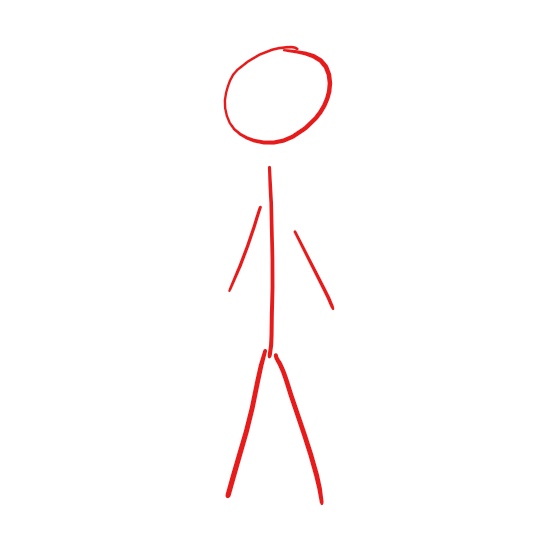
This sequence will be accompanied by little stick folks, mostly because its the weekend, the holidays, and I don't feel like putting on the amount of done up that the internet expects for fitness images :)
All jokes aside, even with stick people as demos, nobody (and no body) is the same, and each side of the body is different. You may find that one arm is tight, or one leg is tired or stiff, or that your upper body is ROCKING that plank, but the lunge makes you want to go back to bed. All of those feelings are totally fine - noticing where your opportunities for improvement are is half the battle.
If this is your first time doing any yoga, there are a few ground rules: (1) Yoga is not not supposed to hurt, BUT discomfort is OK - This means that a little stretch here and there, or a hold that lasts a bit longer that you wanted is totally great and encourages growth, but any stabby pains anywhere (ESPECIALLY in the neck or back) are NOT intended to be part of yoga, and may mean that you should back off the pose or consider an alternative pose that attains the same end goal. If any pose in this sequence gives you trouble, please feel free to reach out through any of the contact options below and I can suggest some modifications or alternatives. (2) No body is the same - just because you saw a yogi online do an upside-down lotus back bend does not mean that you, your mom, or your cat, will ever be able to twist into that pretzel. BUT, you might be able to do a forward fold to plank jump-back like a pro. This should not be taken to say to give up on any poses that are hard, but to notice that bodies are different, and sometimes flexibility is not the only concern. The way our bones are put together, various ratios of bone lengths, and even previous injuries may affect the way that a pose looks, and it may *never* look like that instagram-yogi, and that is JUST FINE.

Congratulations! You have completed your first yoga session!
All jokes aside, even with stick people as demos, nobody (and no body) is the same, and each side of the body is different. You may find that one arm is tight, or one leg is tired or stiff, or that your upper body is ROCKING that plank, but the lunge makes you want to go back to bed. All of those feelings are totally fine - noticing where your opportunities for improvement are is half the battle.
If this is your first time doing any yoga, there are a few ground rules: (1) Yoga is not not supposed to hurt, BUT discomfort is OK - This means that a little stretch here and there, or a hold that lasts a bit longer that you wanted is totally great and encourages growth, but any stabby pains anywhere (ESPECIALLY in the neck or back) are NOT intended to be part of yoga, and may mean that you should back off the pose or consider an alternative pose that attains the same end goal. If any pose in this sequence gives you trouble, please feel free to reach out through any of the contact options below and I can suggest some modifications or alternatives. (2) No body is the same - just because you saw a yogi online do an upside-down lotus back bend does not mean that you, your mom, or your cat, will ever be able to twist into that pretzel. BUT, you might be able to do a forward fold to plank jump-back like a pro. This should not be taken to say to give up on any poses that are hard, but to notice that bodies are different, and sometimes flexibility is not the only concern. The way our bones are put together, various ratios of bone lengths, and even previous injuries may affect the way that a pose looks, and it may *never* look like that instagram-yogi, and that is JUST FINE.
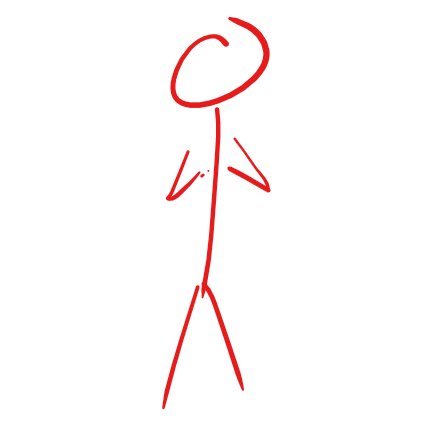
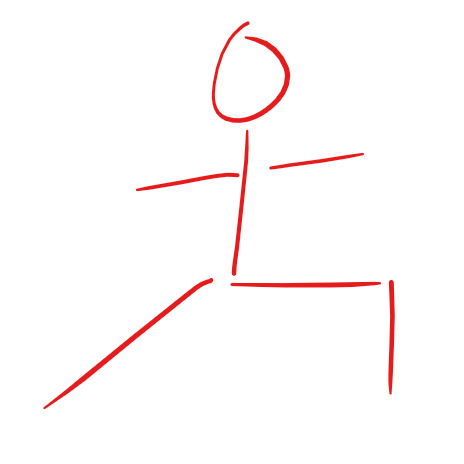
Start off in Mountain Pose. - Yoga lesson number one: Most yoga poses have a Sanskrit name, which has been translated into English typically having some sort of imagery or legend associated with it. For this pose, the Sanskrit is Tadasana. The imagery is that of a mountain, meaning to be firmly rooted and still. To approach this pose, while it seems simple on the surface, requires considering a variety of body parts:
(1) feet - hip width apart and feet parallel, weight evenly distributed between the front, back, and left and right side of each foot. It may help to rock forward and back or side to side to find this balance.
(2) legs - quads engaged, such that it feels that the kneecaps are pulled upwards. Legs engaged such that the legs incline towards rotating inward - BUT the feet stay parallel.
(3) pelvis - hips and glutes engaged to pull the back of the tail bone down toward the earth. If you imagine that you grew up with a tail, that tail should be pointing straight toward the ground just behind your heels.
(4) abs - abs engaged, this will help with the pelvis alignment, taking some of the work from the glutes.
(5) chest - chest pulled in, not jutting forward. This may feel strange, as often tight muscles want to compensate for the pelvis and ab engagement by jutting the ribs forward, attempt to restrict this forward movement.
(6) shoulders - shoulders should be pulled down and back, as if you are inclining toward pulling the shoulder blades toward each other on the back.
(7) head - the chin should be tucked ever so slightly down, and the head should be positioned over the shoulders, creating a nice stacked posture of head over shoulders, over hips, over feet.
Bring your palms to touch in front of your heart. This pose has a variety of names, often being referred to as Tadasana with prayer hands. This pose follows all of the cues of tadasana listed above, but I like to put a little extra focus on the shoulder position - back and down - and the restriction of forward movement of the chest.
Next, swing your arms down on an exhale and then upward on the inhale to raise them overhead. In this pose, follow all the cues for tadasana, but this time with extra consideration on not allowing the shoulders to creep up by the ears. They should remain pulled down and back, despite the fact that your hands are now stretching toward the sky. This may mean that your arms do not straighten all the way, allowing a bend in the elbows, or that they remain at an angle, more like a Y position. Regardless of the ending arm location, the palms should be turned to face each other.
On your next exhale, fold forward, reaching toward the floor/your toes with your hands. It is perfectly acceptable (and expected) for your back to round in this fold. There are two primary ways to transition your arms from overhead to the ground while you fold:
(1) bring the palms to touch in prayer position and bring them down through the mid line in front of you.
(2) swan dive your arms out to the side and down to the center as you fold.
(1) bring the palms to touch in prayer position and bring them down through the mid line in front of you.
(2) swan dive your arms out to the side and down to the center as you fold.
As you breath in, straighten your back while remaining in a forward fold. This will likely mean that your arms will have more room to extend toward the ground, or that you may bring them up to your shins/quads to achieve both straight legs and a straight back.
As you exhale again fold forward into your rounded back forward fold once again.
On your next inhale, reach your arms upward and overhead into the same arms overhead pose that we transitioned from to get into the forward fold. Exhale bringing your arms back by your sides, and repeat this portion of the sequence two or three more times.
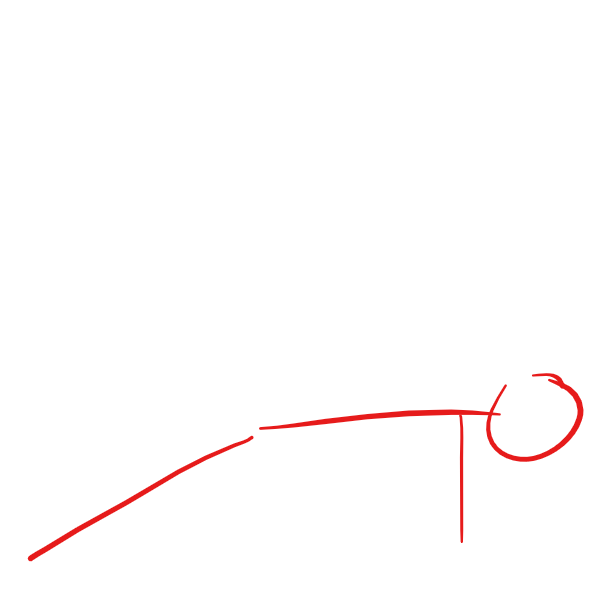
Once you have returned to tadasana after a couple of repetitions, step your right leg back into a high lunge. Once again, there are a few things to consider in this position:
(1) Assure that your back leg remains engaged and as straight as possible, creating a line from your right hip to your right heel.
(2) Take care that your front knee does not pass your front ankle. The knee can either remain directly over the ankle, or sightly behind it, with the front upper leg aiming toward a parallel position with the floor.
(3) The abs and chest form a straight-ish line up to the ceiling. Due to the position of the pelvis, there will be a sight bend in the lower back, which is perfectly acceptable, but we are not aiming for a back bend in this pose. The head should remain in line over the shoulders and hips.
(4) There are a variety of options for the arms: overhead, down by hips, or out to the sides.
(5) The hips are inclining toward remaining parallel with the front of the mat.
(6) The left hip remains in line with the left knee, making sure not to jut the hip out toward the left while aligning the hips toward the front of your mat.
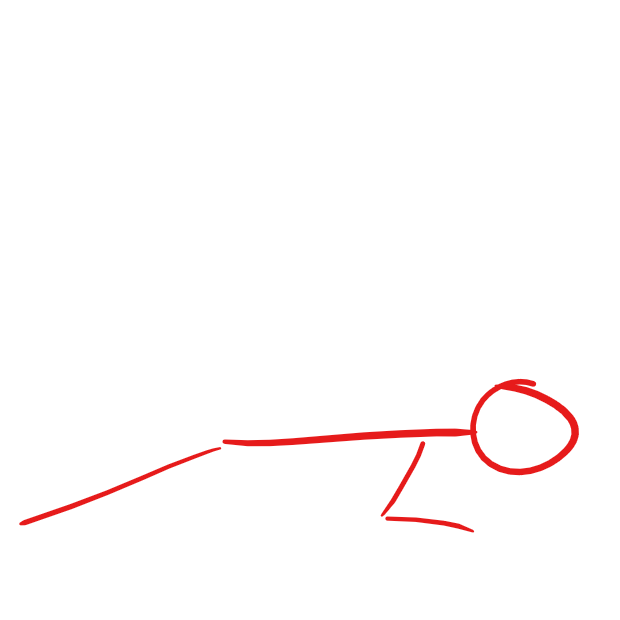
Bring the arms down to either side of the front foot, and step your left foot back into plank position. Plank is essentially the high portion of a push up position, with a few positioning cues:
(1) All five fingers should be pressing equally into the mat on each hand. The pointer finger should be pointing straight forward or slightly out to the side. The hands should be shoulder width apart
(2) The shoulders should be either directly over the wrists, or sightly behind.
(3) Your rump should not stick up into the air, or droop toward the floor. The abs should be engaged such that there is a straight line from your shoulders to your pelvis.
(4) Legs should be engaged, creating a straight line from your pelvis to your heels, which reach toward the back of your mat. The feet should be hip width apart or closer.
On your next exhale, start to lower yourself to the ground by bending at the elbows. Your elbows should remain close to your abdomen, not sticking out to the sides. Your body should remain straight (like a plank) on the way down toward the mat.
When nearly lowered to your mat, lower your pelvis to the mat and begin to curl your chest upward into a low back bend. Your elbows will remain tight to your abdomen, not jutting out to the side:
(1) keep your chin slightly tucked, the goal is for the back bend to come from your back, not from your neck.
(2) Legs should remain engaged, likely resulting in only the tops of your feet and your pelvis touching the ground - the activation of the legs will pull the knees away from the mat.
(3) Keep your shoulders tucked down and back, as in each other pose so far.
(4) If your back hurts in this position, there are two primary options - increase the bend in your arms, lowering your back bend - or - move your arms slightly forward, reducing the upward motion of the back and flattening out the back bend.
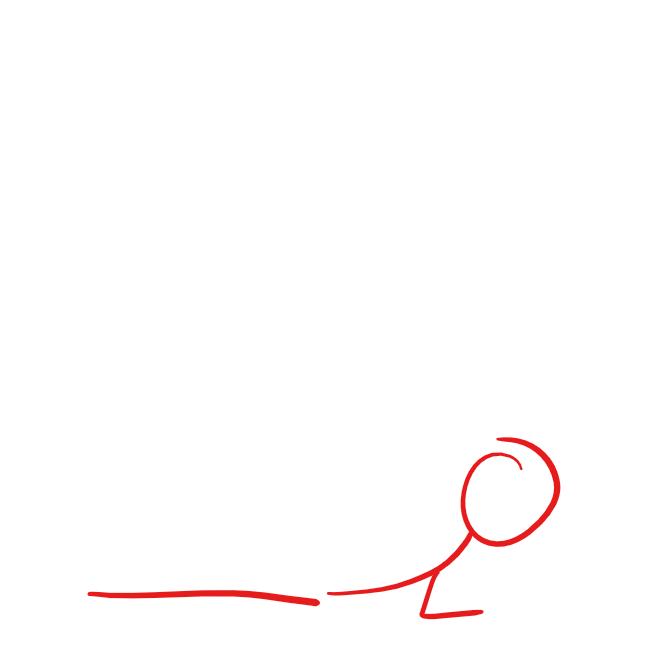
As you exhale, engage your abs and reach your hips up and back into downward facing dog. If you have ever seen a puppy play, the imagery for this pose is very evident, but here are a few cues:
(1) Hips should reach up and back
(2) Similar to plank, all fingers should be actively involved in this pose, and hands should be shoulder width or slightly wider.
(3) Legs should be fully engaged, though your heels may not reach the ground, the intent is to reach them firmly toward the ground.
(4) Abs should remain engaged, removing any significant back bend from this position.
(5) Chest should pull toward the mat, as if you were wearing a necktie that was being pulled toward your heels.
(6) Shoulders should remain down and back (since your torso in inverted, this will really mean they reach toward your hips, which reach toward the ceiling) even though your hands reach in the opposite direction.
Step your right leg forward into the lunge position from before, but this time on the opposite side. On your inhale bring your arms up to the same position you used previously.
On an exhale bring your back foot up to meet the front and fold forward.
On an inhale, lengthen your spine while remaining in a forward fold.
On an exhale fold back in to forward fold.
On your next inhale, reach your arms over head.
On your exhale, bring your hands back to prayer position in front of your heart. Repeat this portion of the sequence two or three more times.